WCA Case — Add Pleadings to Existing Case
Once a WCA case is active and you are a party, you can add pleadings directly to the case at any time. Pleadings include individual documents such as motions, responses, stipulations, or exhibits. Each pleading is reviewed separately by the Clerk's Office.
You can reach the same Pleadings workflow in two ways:
- My WCA Cases (recommended for ongoing case work) — open your case from the case list, then use the Pleadings section.
- Accepted Filings (useful right after your initial application is accepted) — open the filing from the Accepted Filings dashboard tile, then use the Parties and Pleadings tabs on the filing view.
Both paths use Pleading (or + Pleading), Save, then Submit (via the row Action menu).
Add a pleading (from My WCA Cases)
Navigation: Left navigation menu → My WCA Cases → click the case ID → Pleadings section → + Pleading
1. Open your case
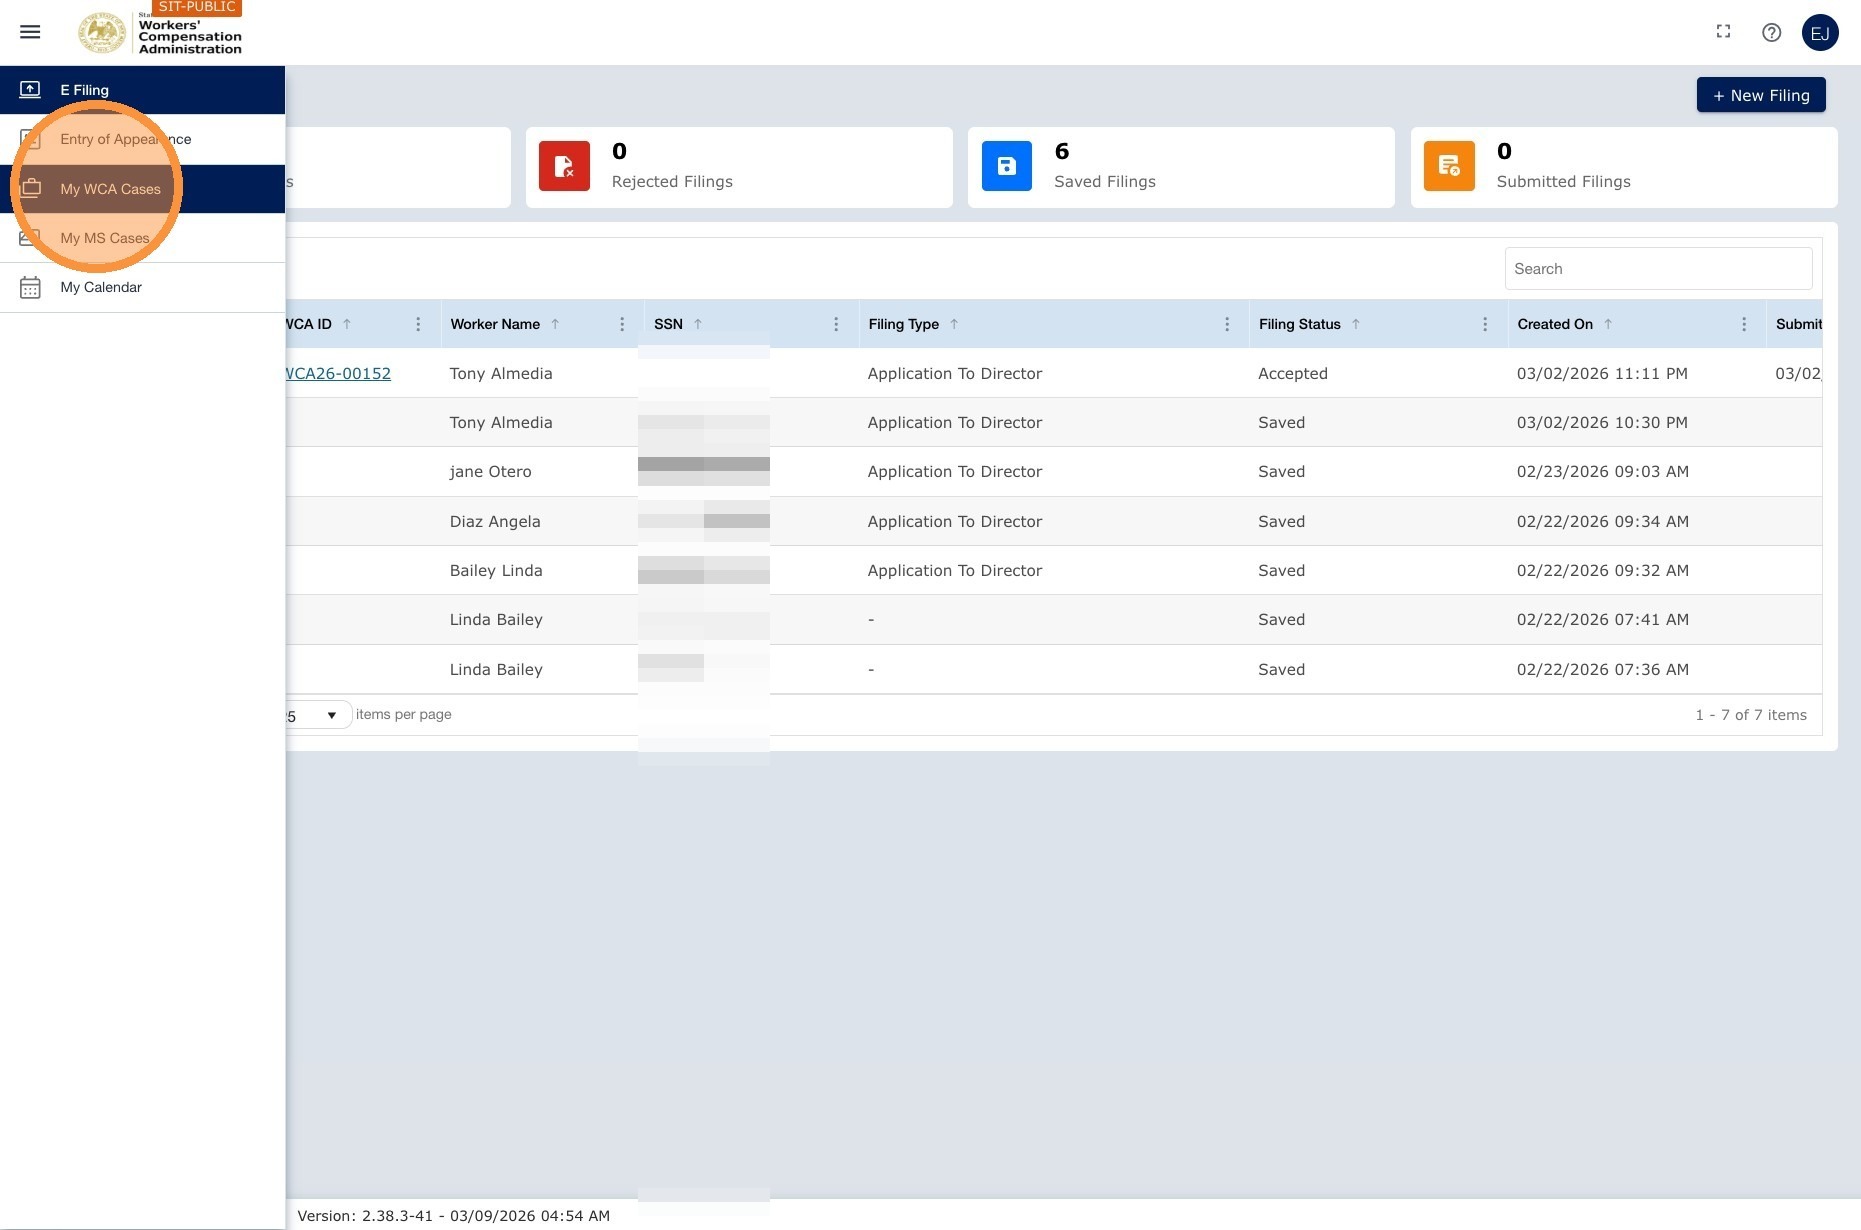
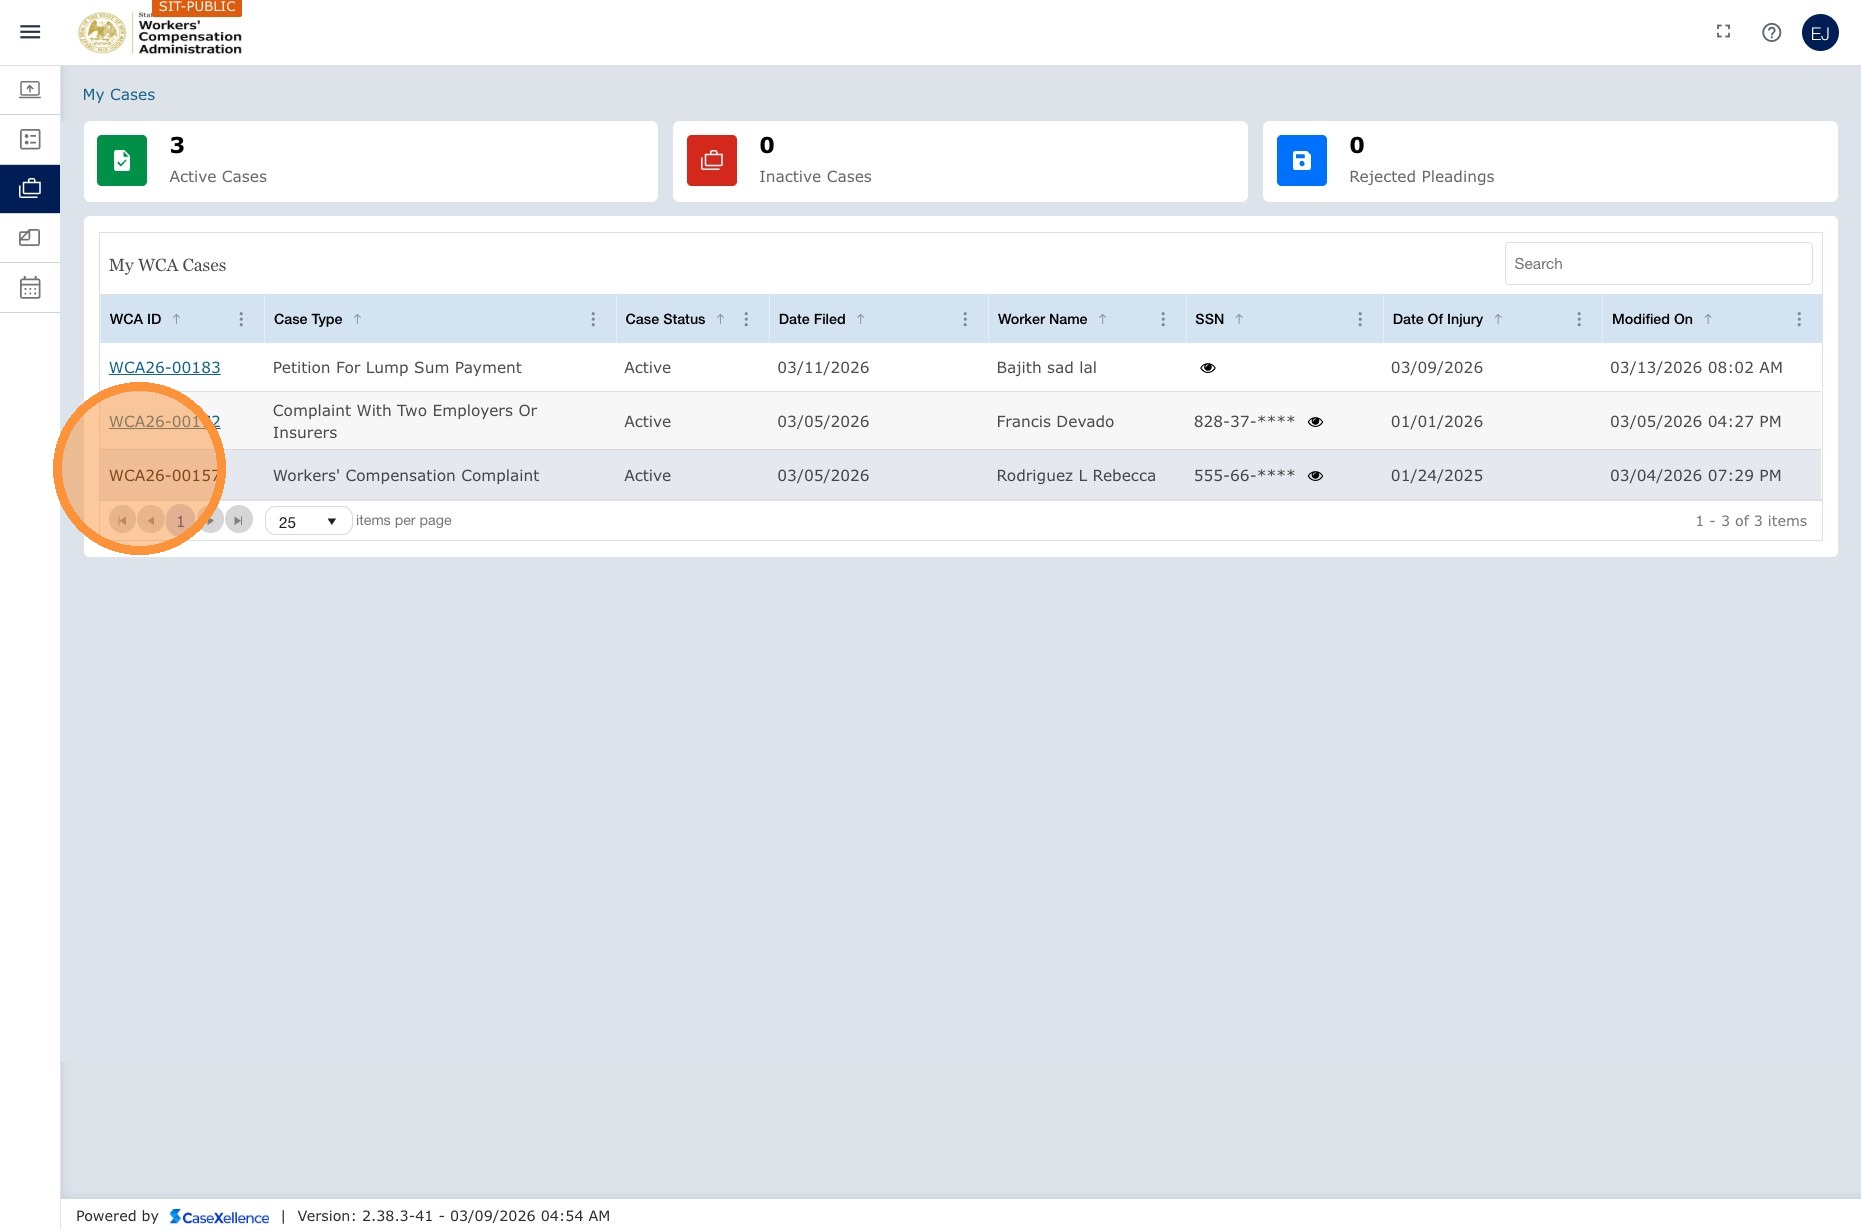
- Go to My WCA Cases in the left navigation menu.
- Find your case in the list. You can use the grid search to search by worker name or WCA Case Number if needed.
- Click the WCA Case Number link to open the case.
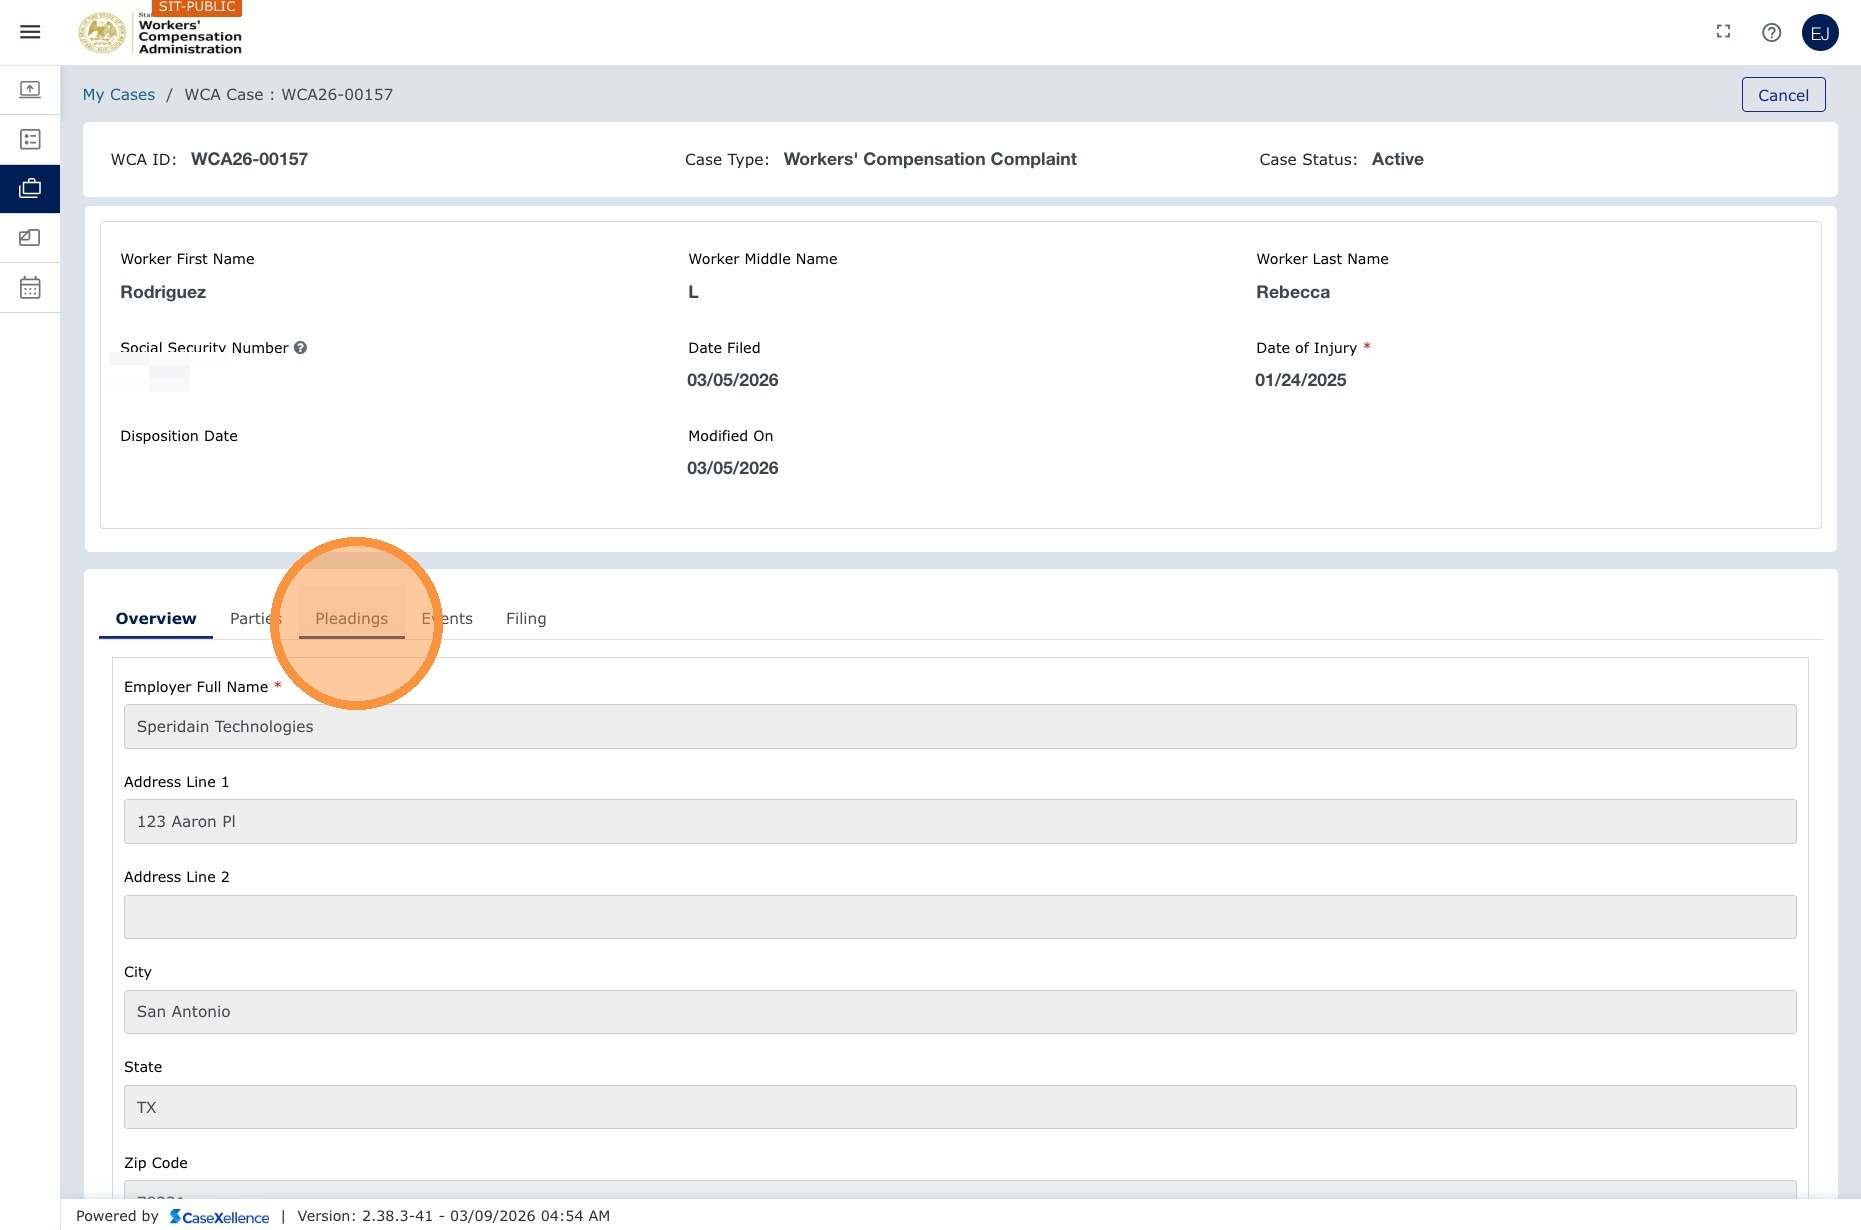
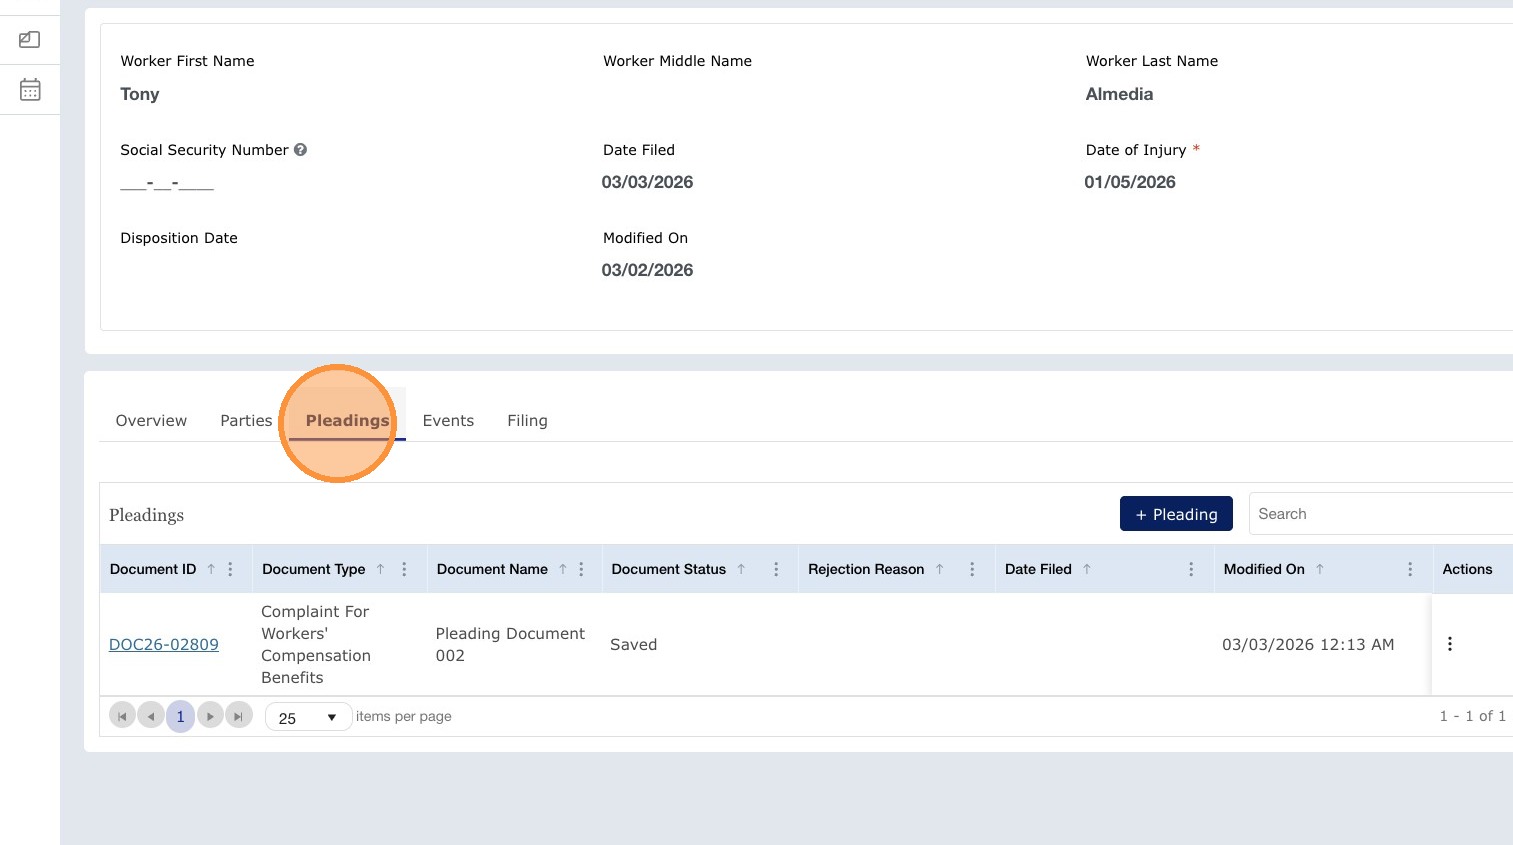
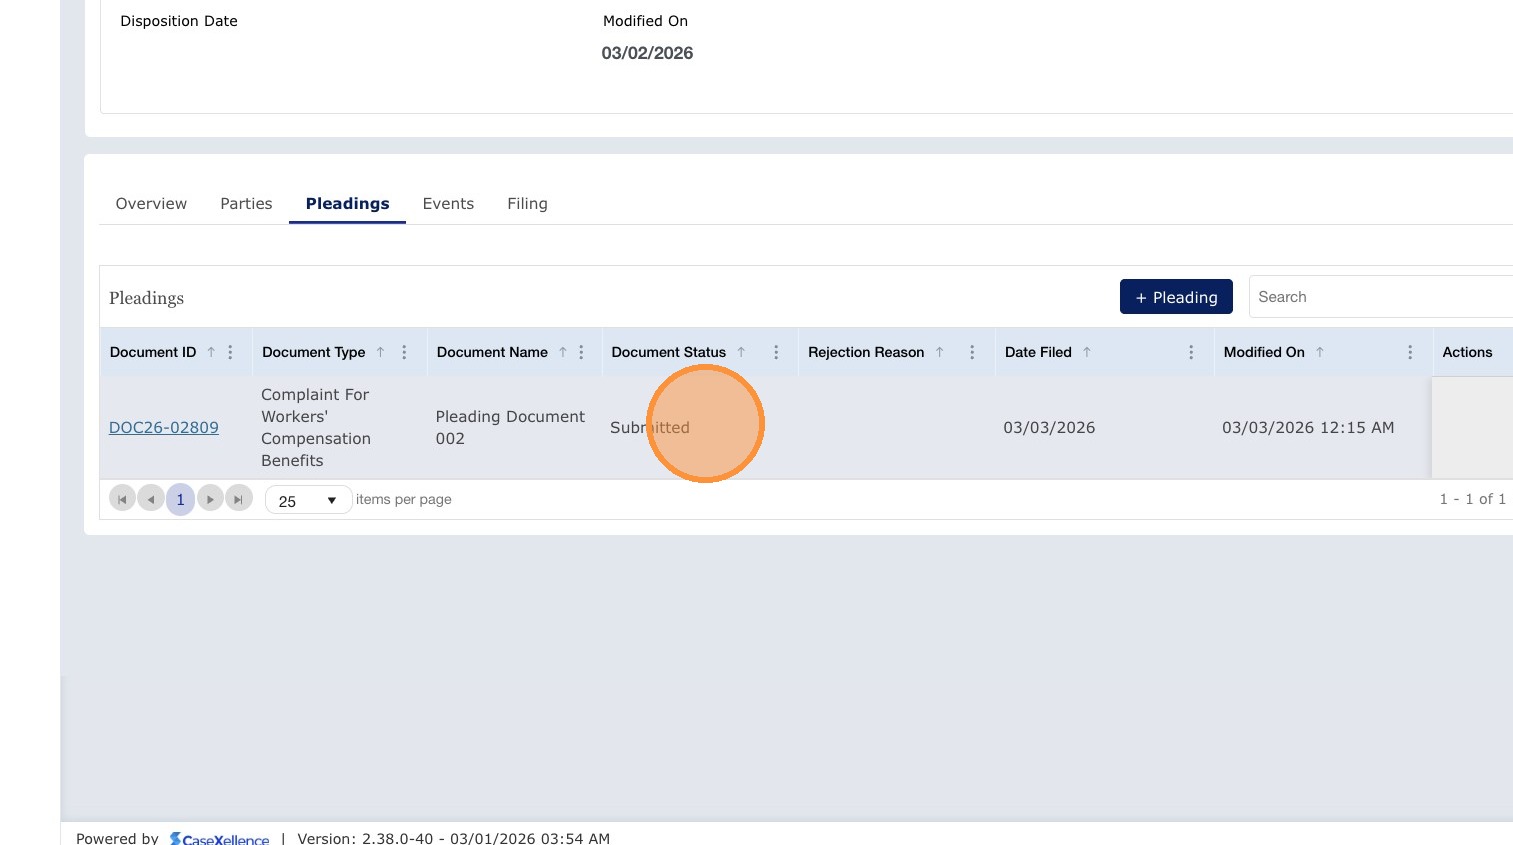
2. Open the Pleadings section
- Scroll to the Pleadings section within the case view.
- Click + Pleading.

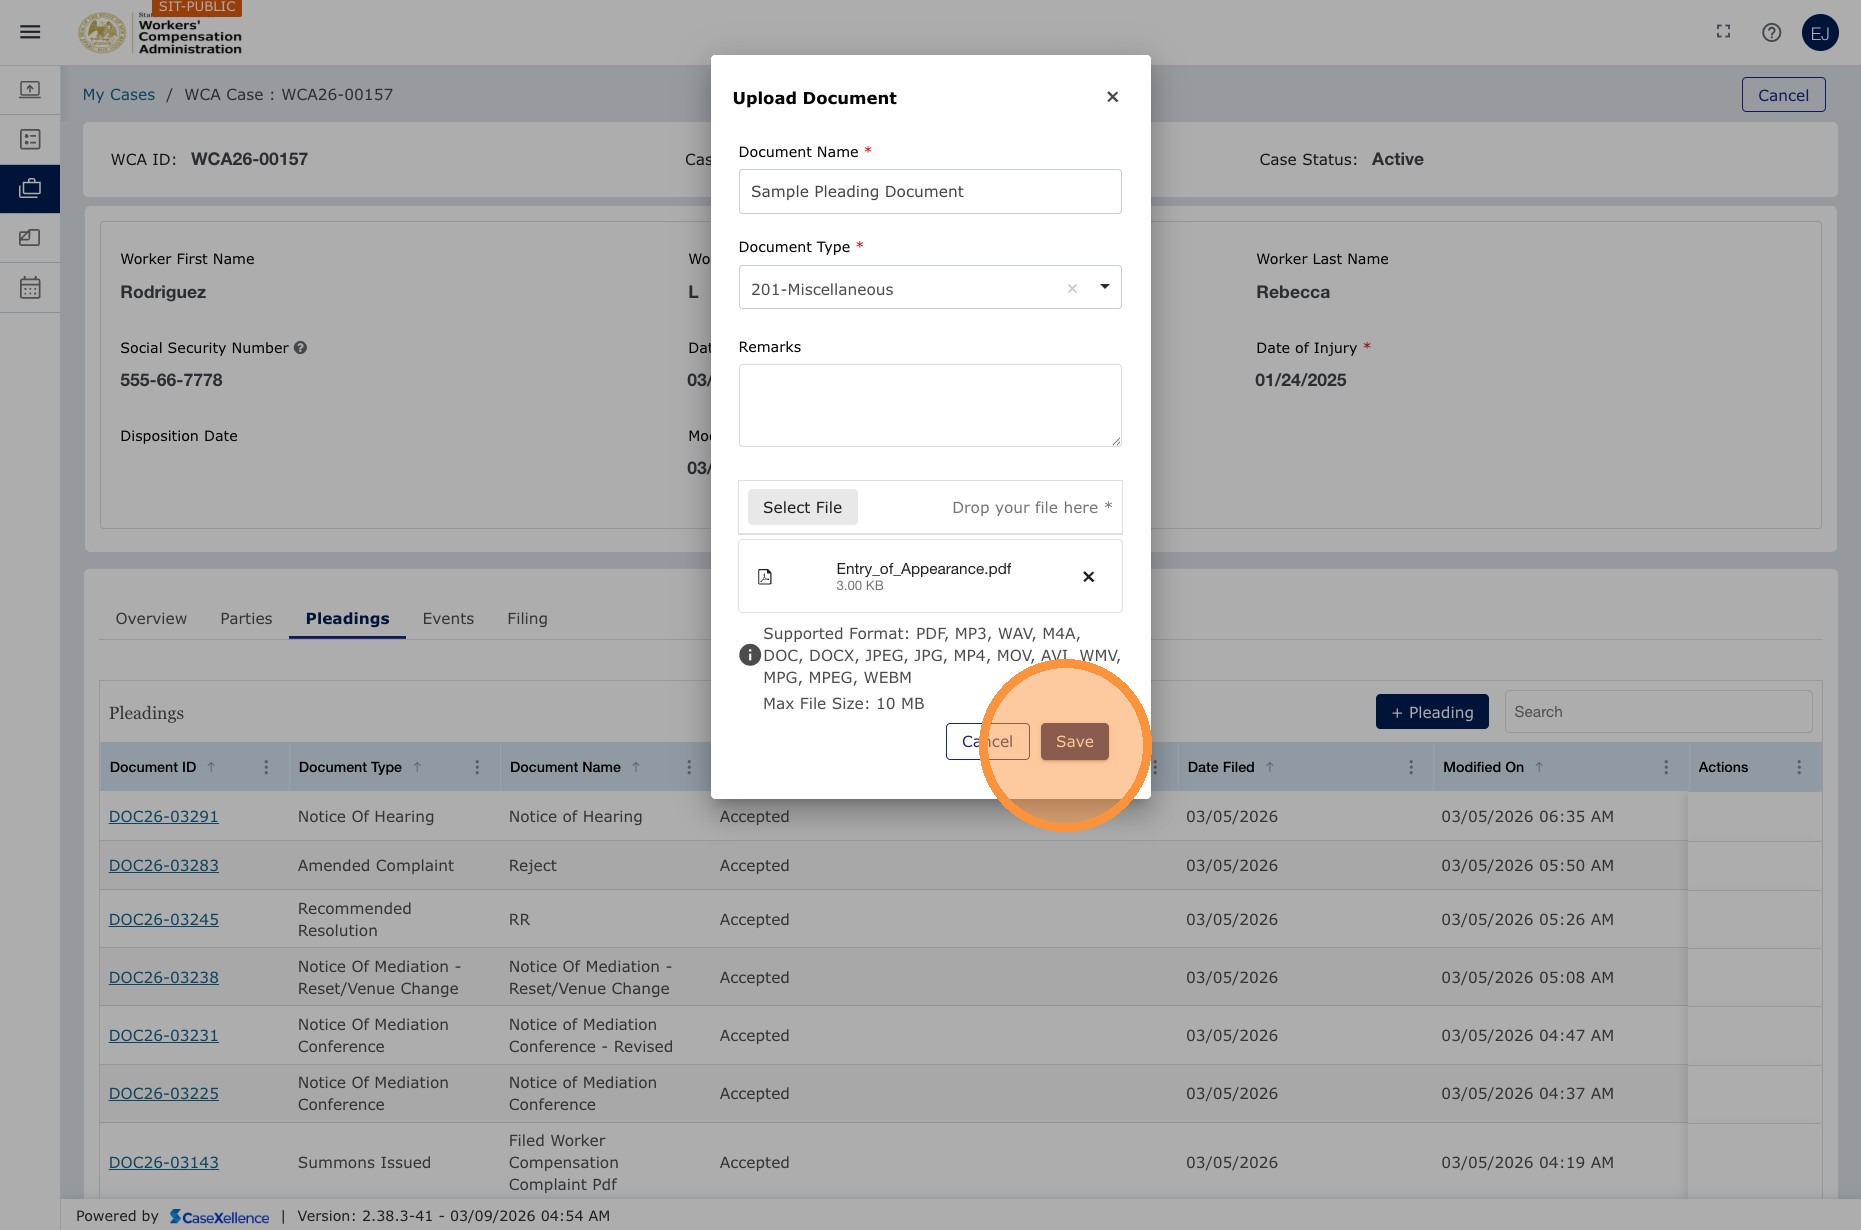
3. Select the type, attach the file, and save
- Select the Pleading Type from the dropdown, such as Motion, Response, Stipulation, Exhibit, or Miscellaneous.
- Click Choose File and select your document.
- The maximum file size is 10 MB per document.
- Supported formats include PDF, JPG, and other common file types.
- Click Save.
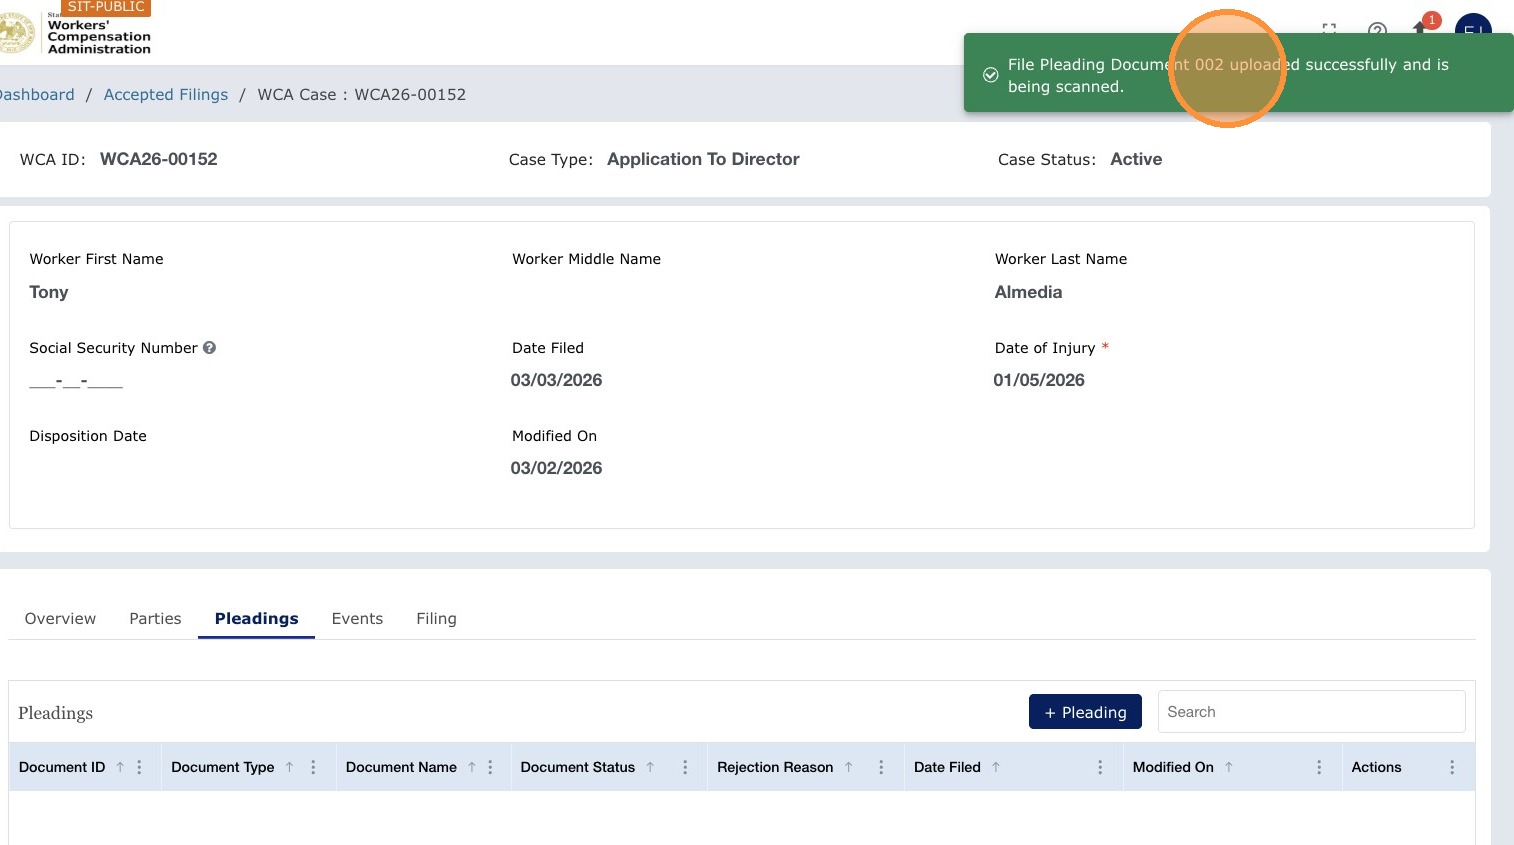
4. Submit the pleading
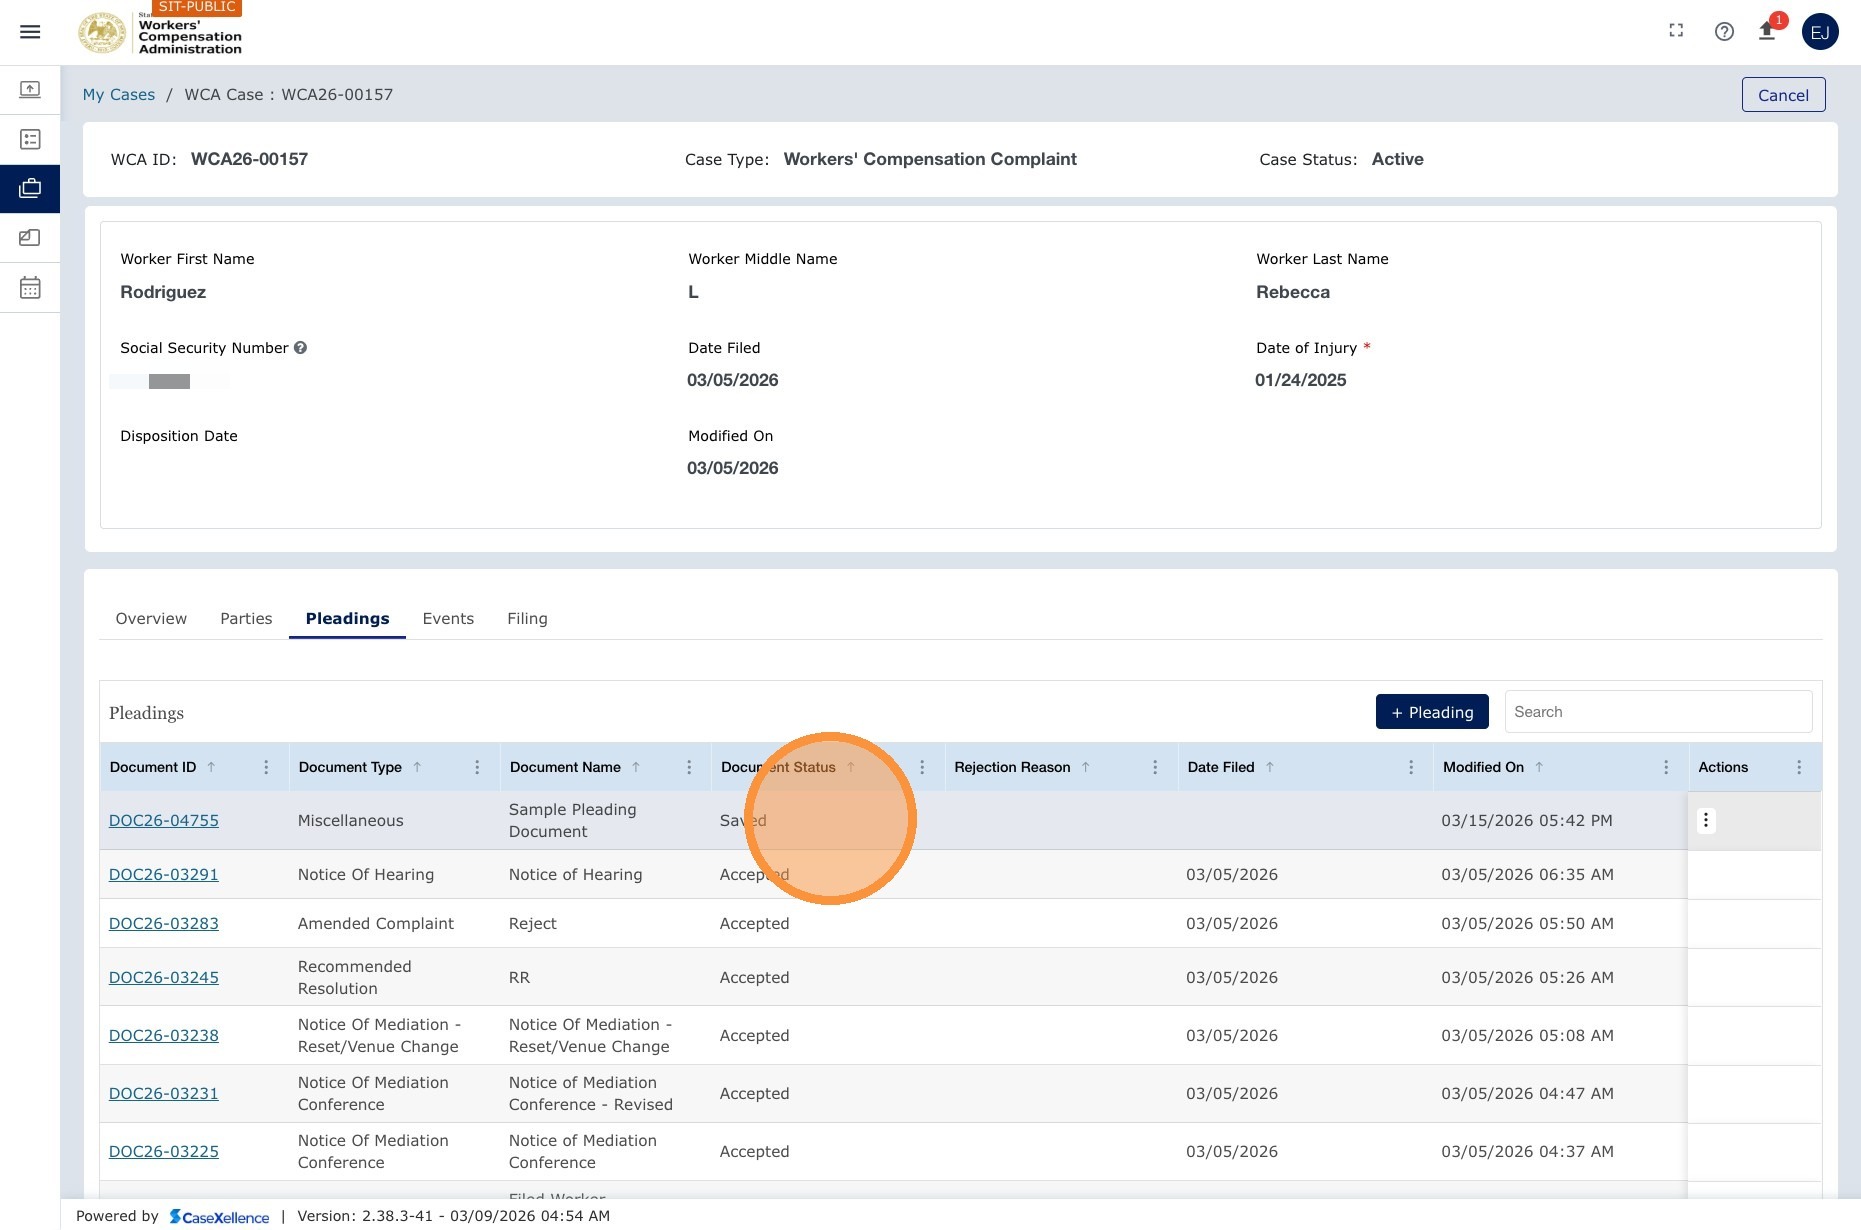
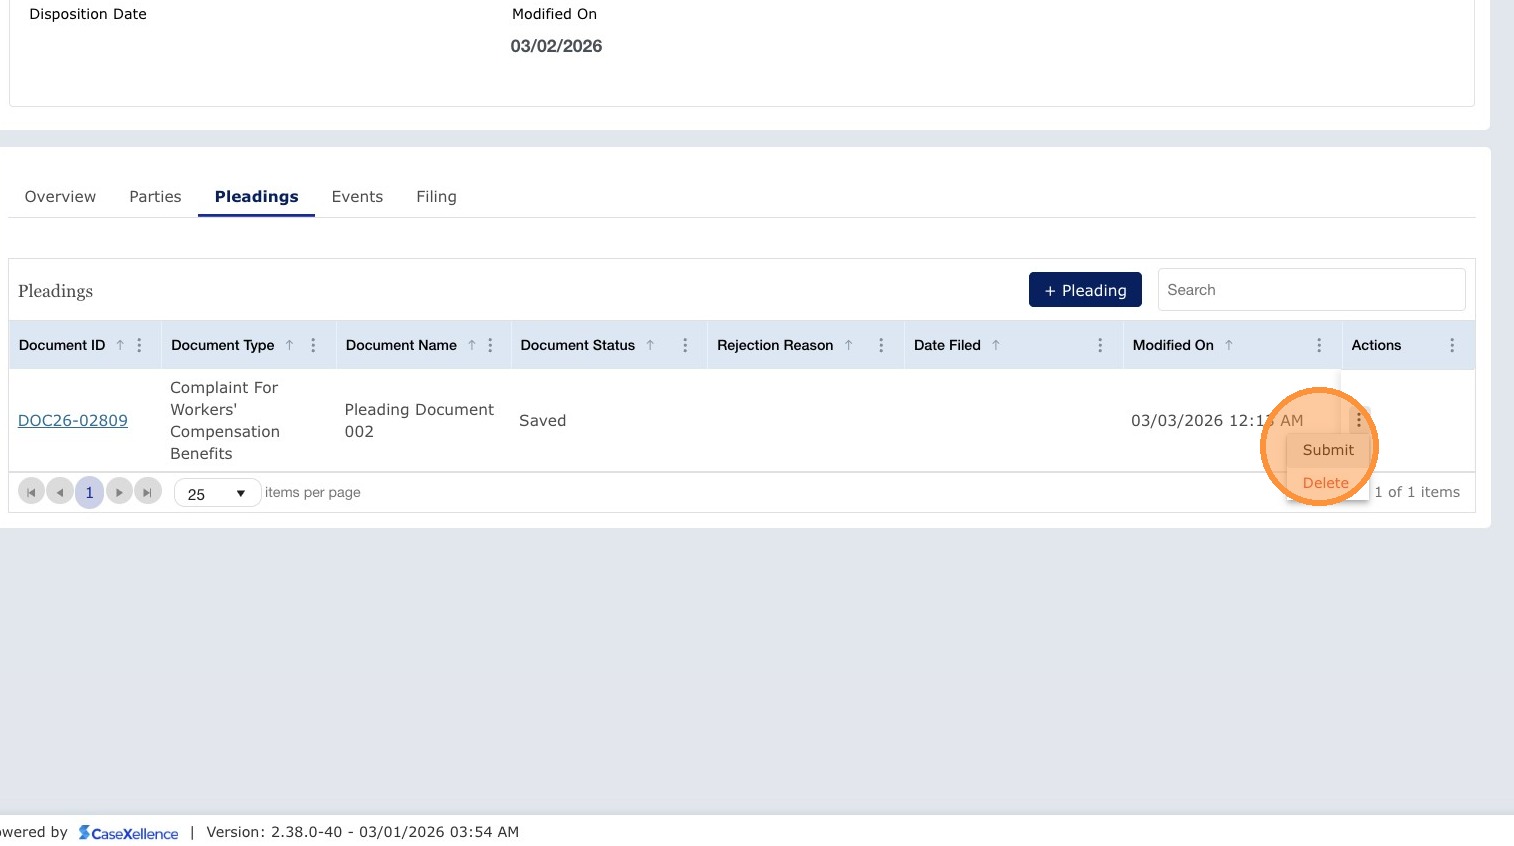
- The pleading appears in the grid with the status Saved.
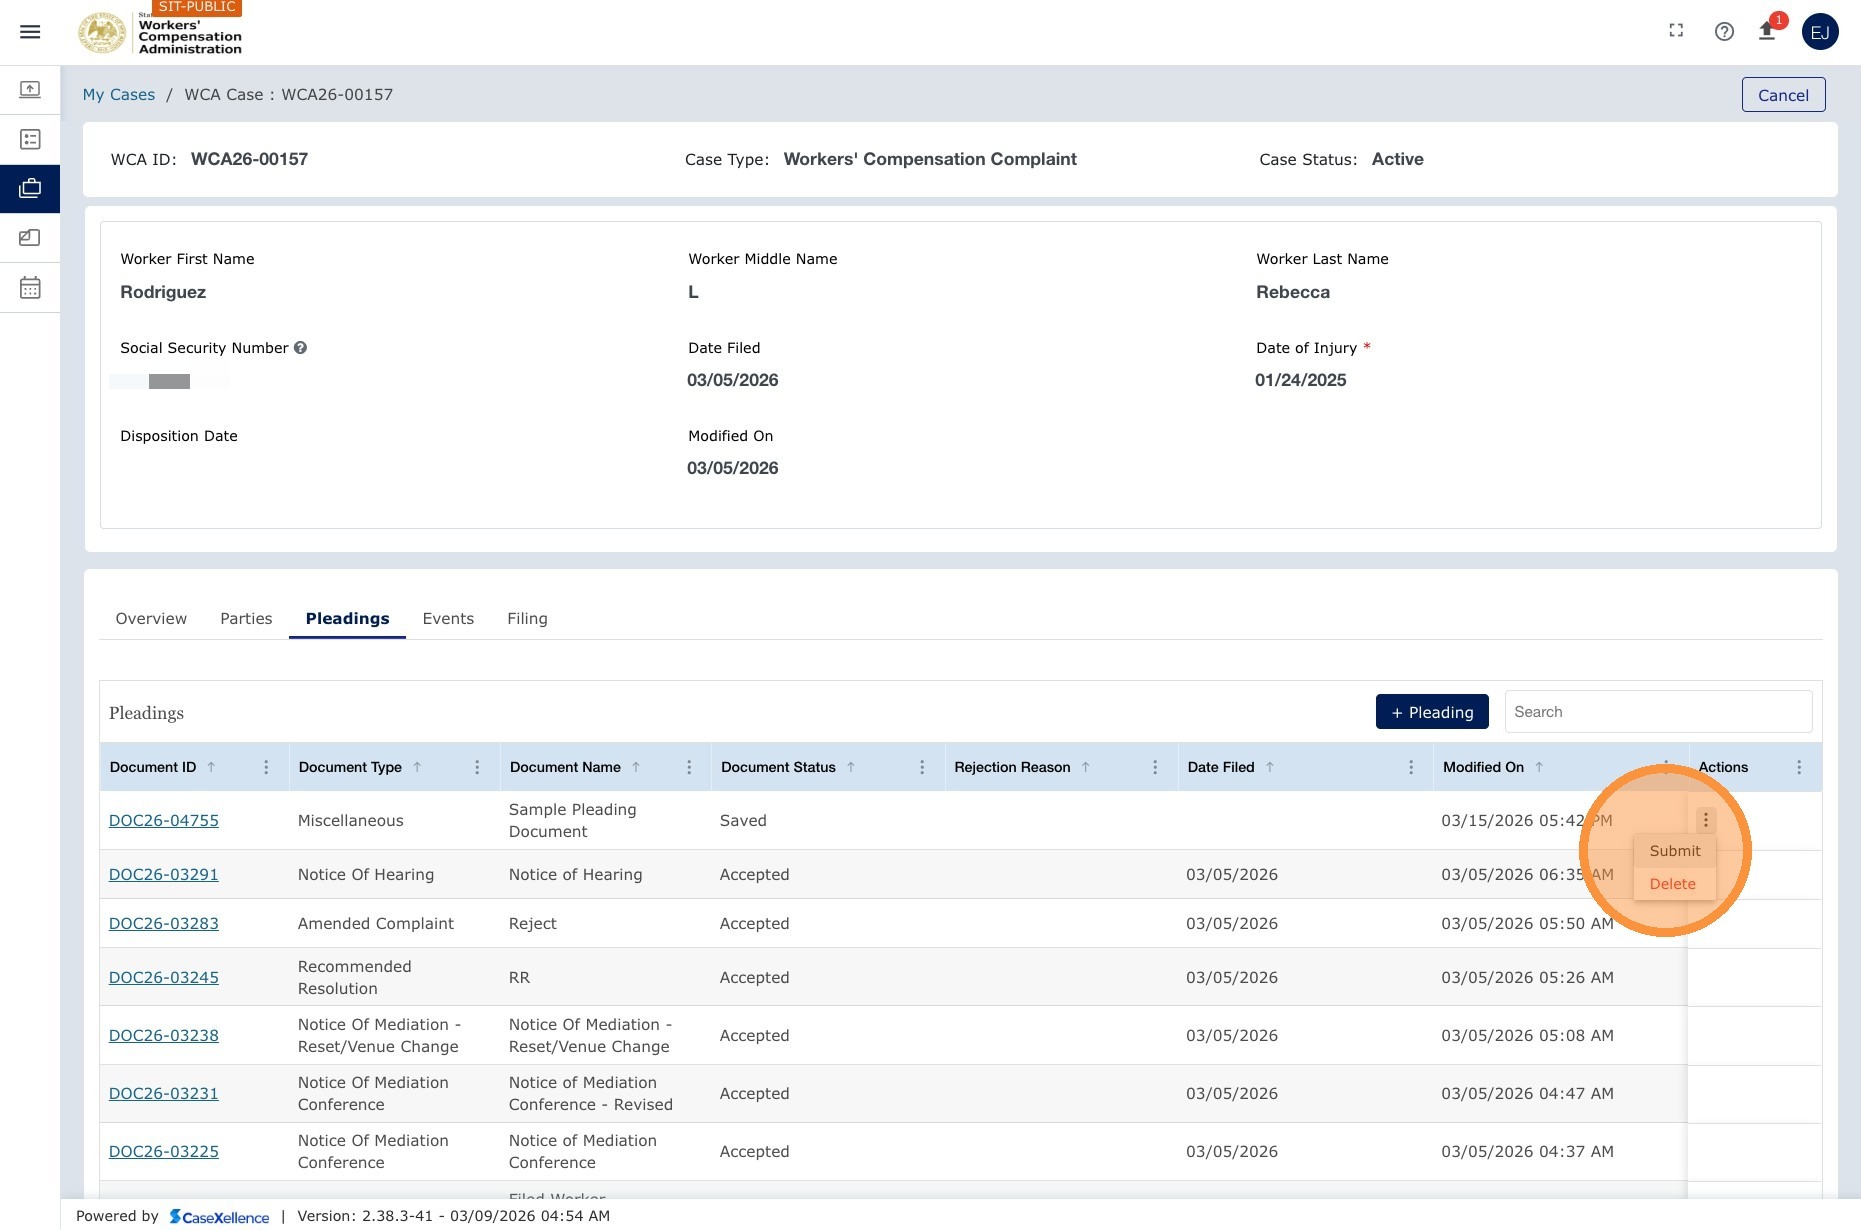
- Click the Action button and select Submit to send it to the Clerk's Office for review.

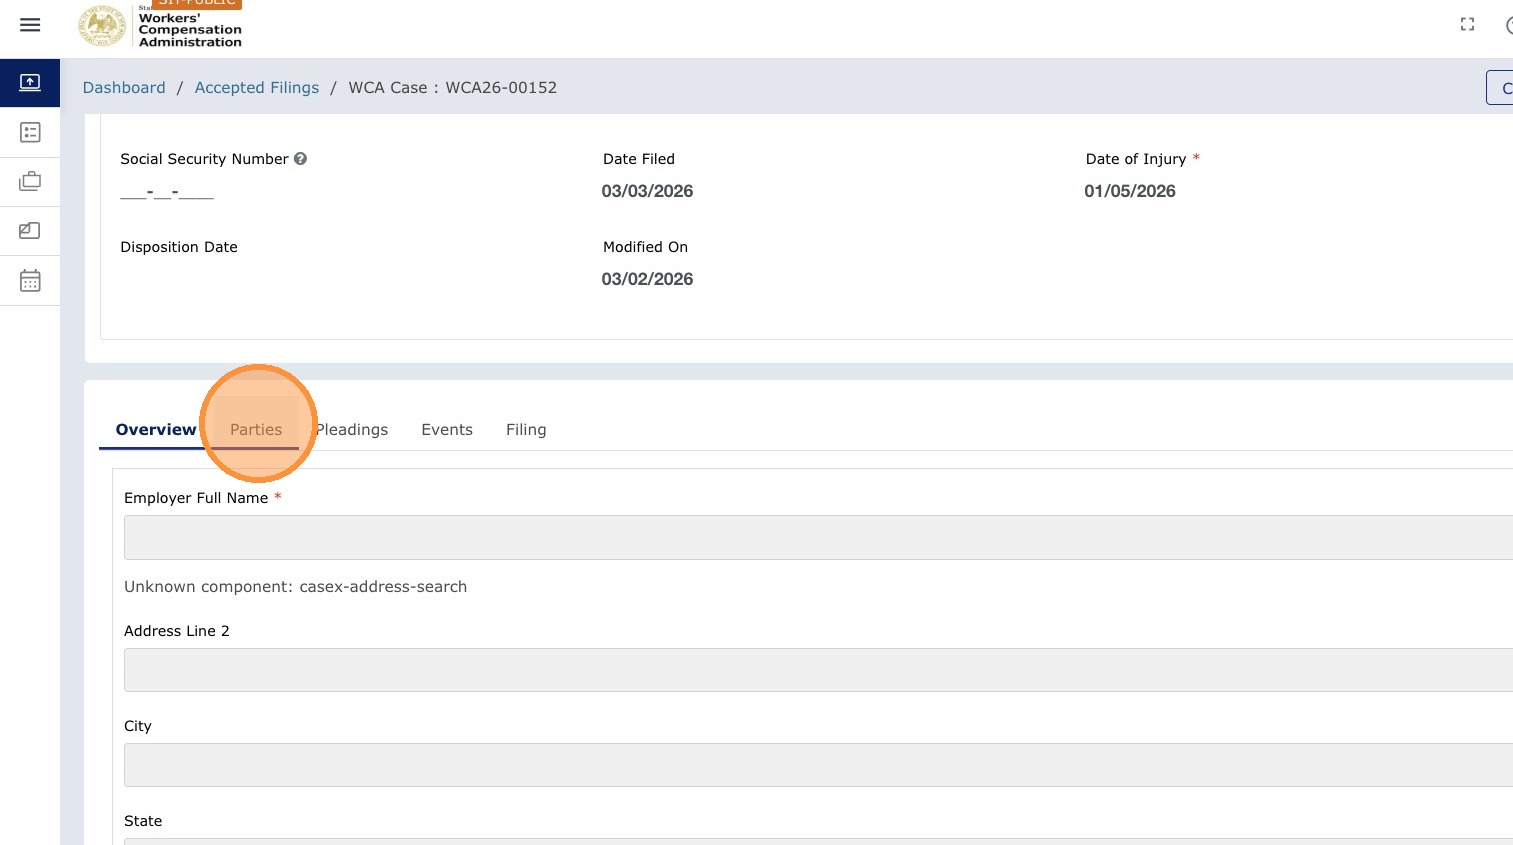
Alternative path: Add a pleading from Accepted Filings
Use this path when your initial e-filing has just been accepted and you want to work from the dashboard and Accepted Filings tile instead of My WCA Cases. The steps below match the original end-user walkthrough (restored from prior guide material) and show the Parties tab, Pleadings tab, + Pleading, Save, Submit from the row menu, and returning via Filing.
Navigation: Dashboard → Accepted Filings tile → select filing → Parties (optional) → Pleadings → + Pleading
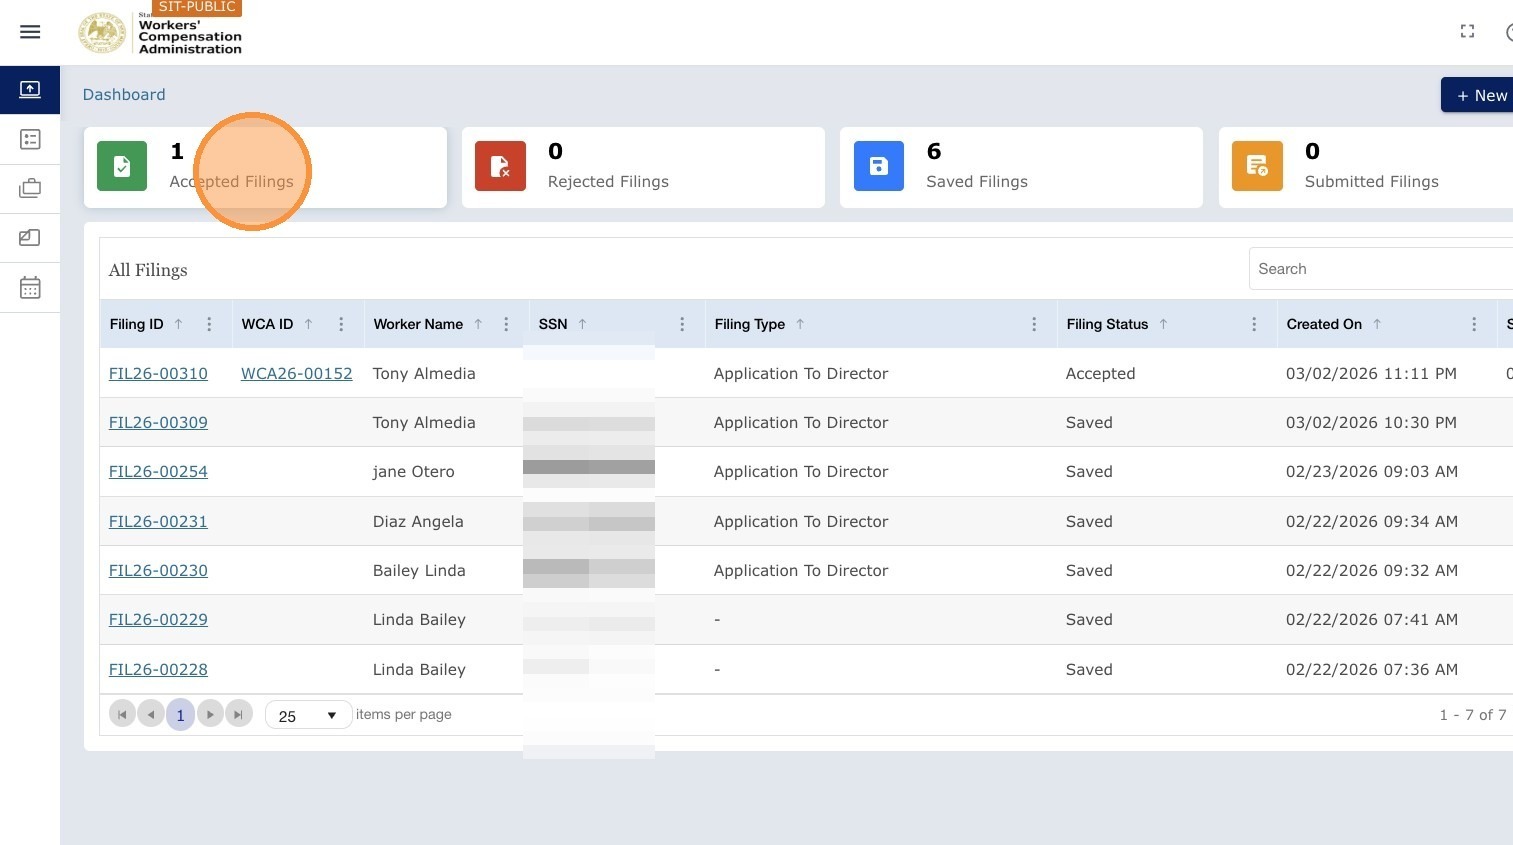
1. Confirm acceptance on the dashboard
After the Clerk accepts your filing, sign in again. On the dashboard, the filing status appears as Accepted.
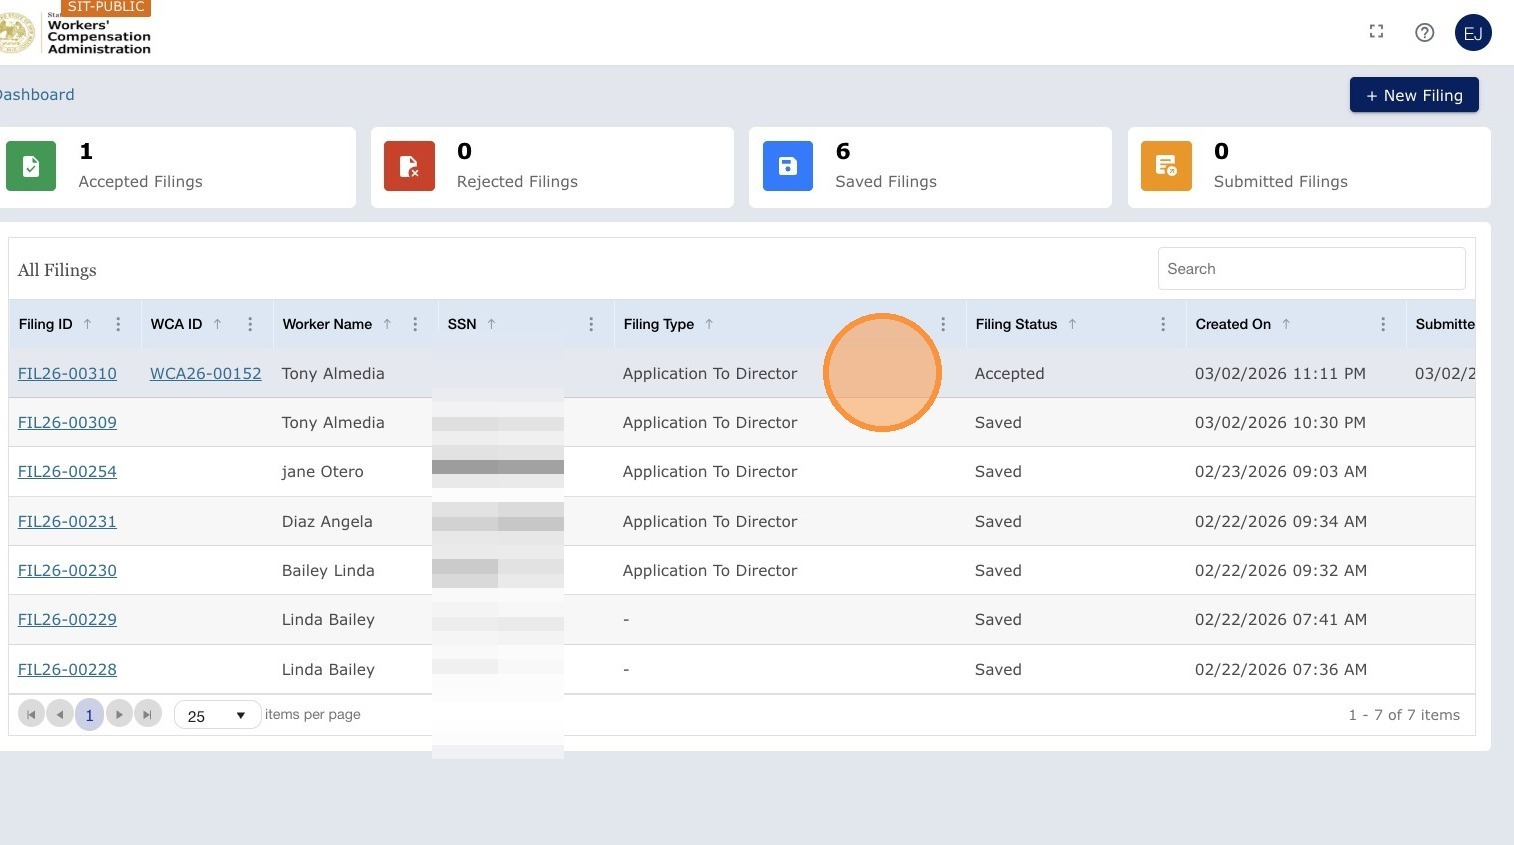
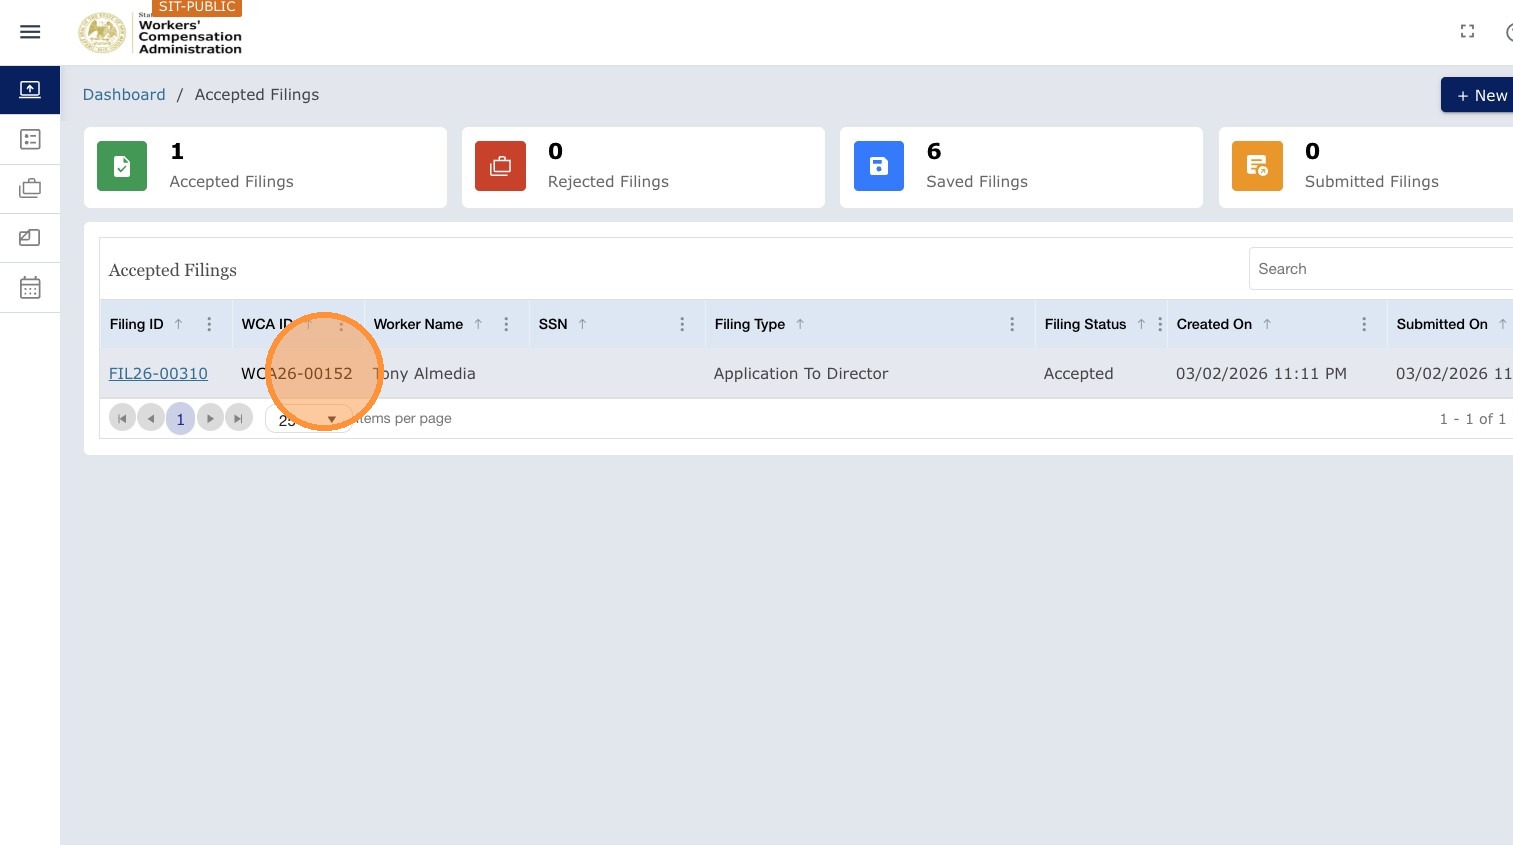
2. Open Accepted Filings
Click the Accepted Filings tile to see all accepted filings, including the one that was just accepted.
3. Open the accepted filing
Click the accepted filing to open the page for that submission.
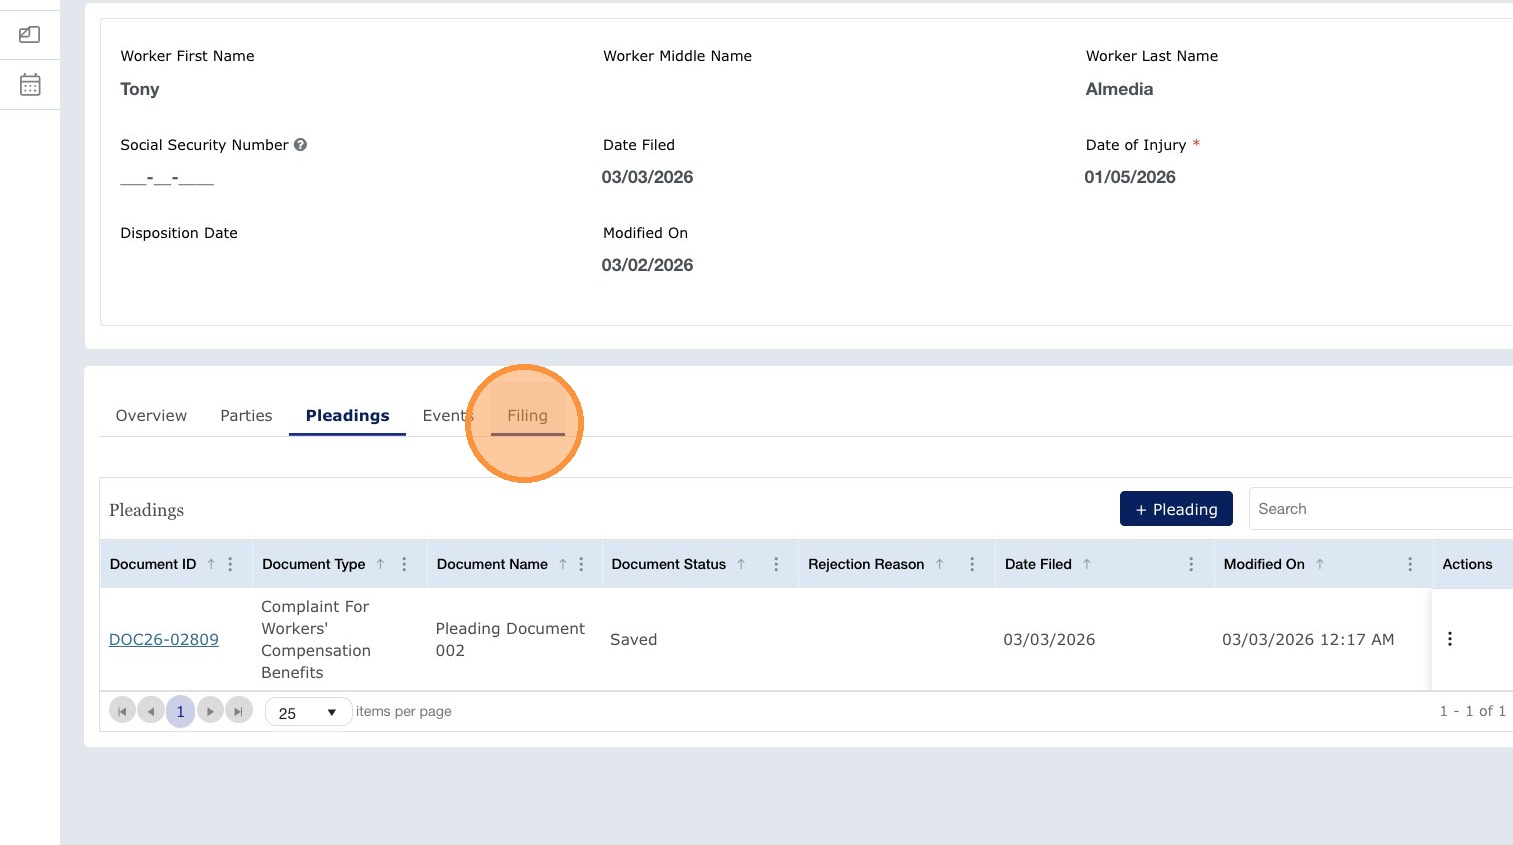
4. Review parties (optional)
Click the Parties tab to see parties on the application.
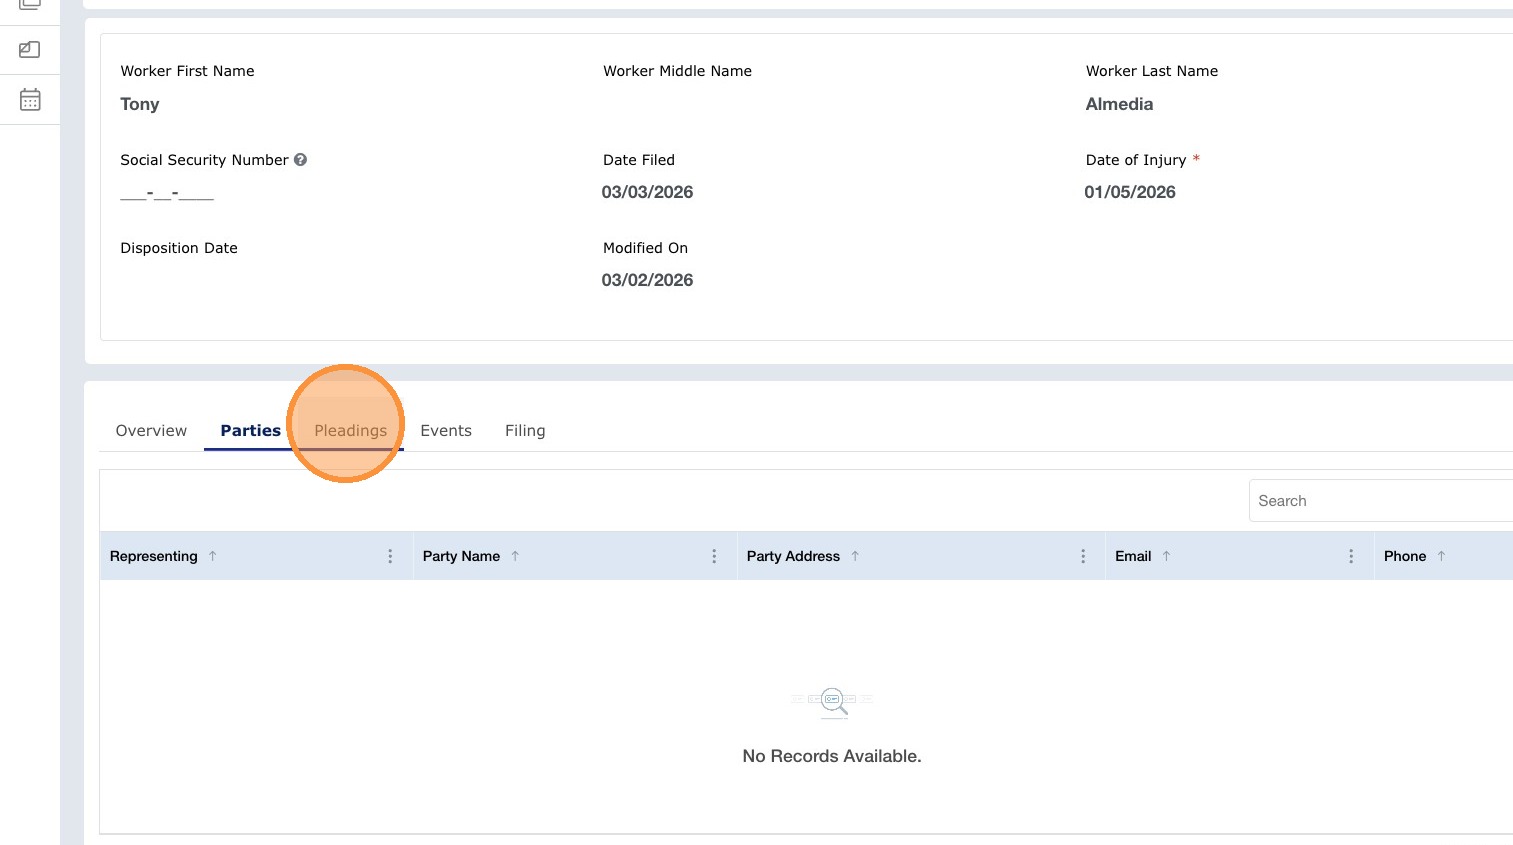
5. Open Pleadings
Click Pleadings to upload and submit pleadings for this filing.
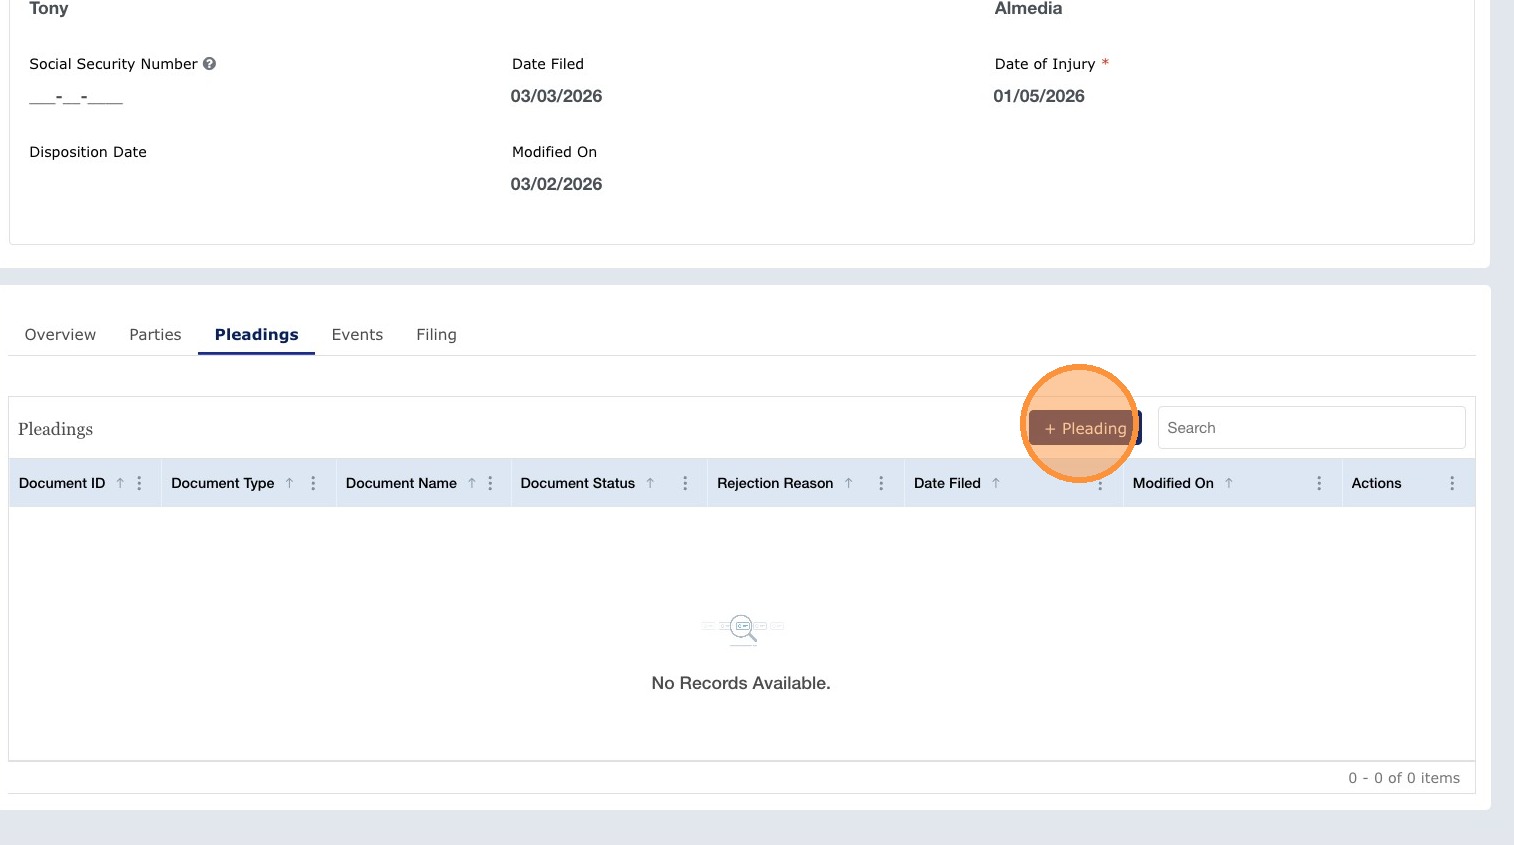
6. Start a new pleading
Click + Pleading to begin a new pleading upload.
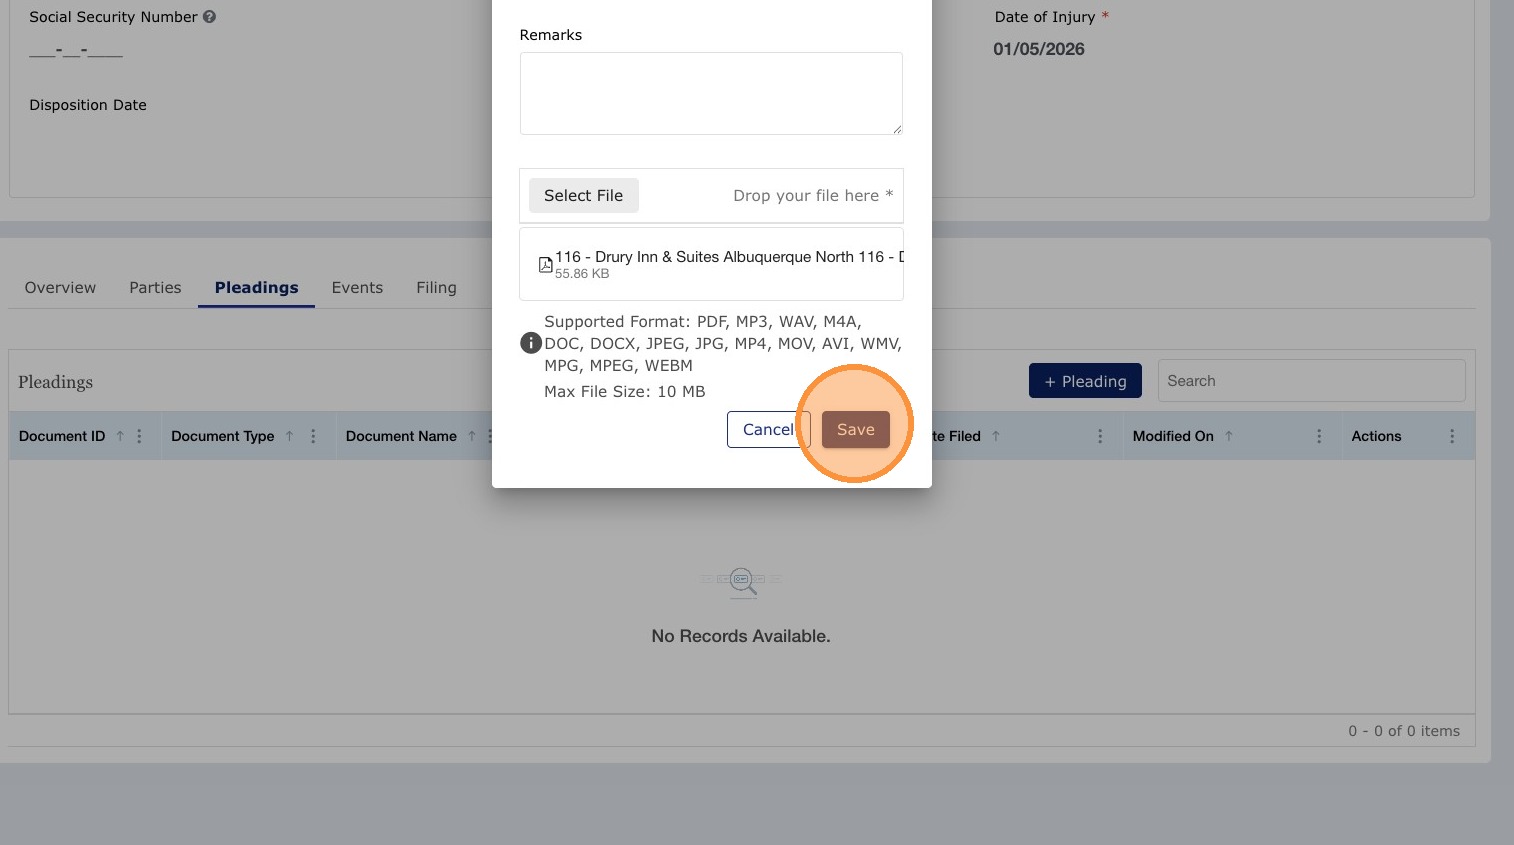
7. Complete fields and Save
Fill in required fields, attach the pleading document, then click Save.
8. Refresh and locate the saved pleading
Refresh the page if needed. The pleading appears in the Pleadings table (e.g. status Saved).
9. Submit the pleading
On the pleading row, open the more (⋮) menu (Action menu) and select Submit.

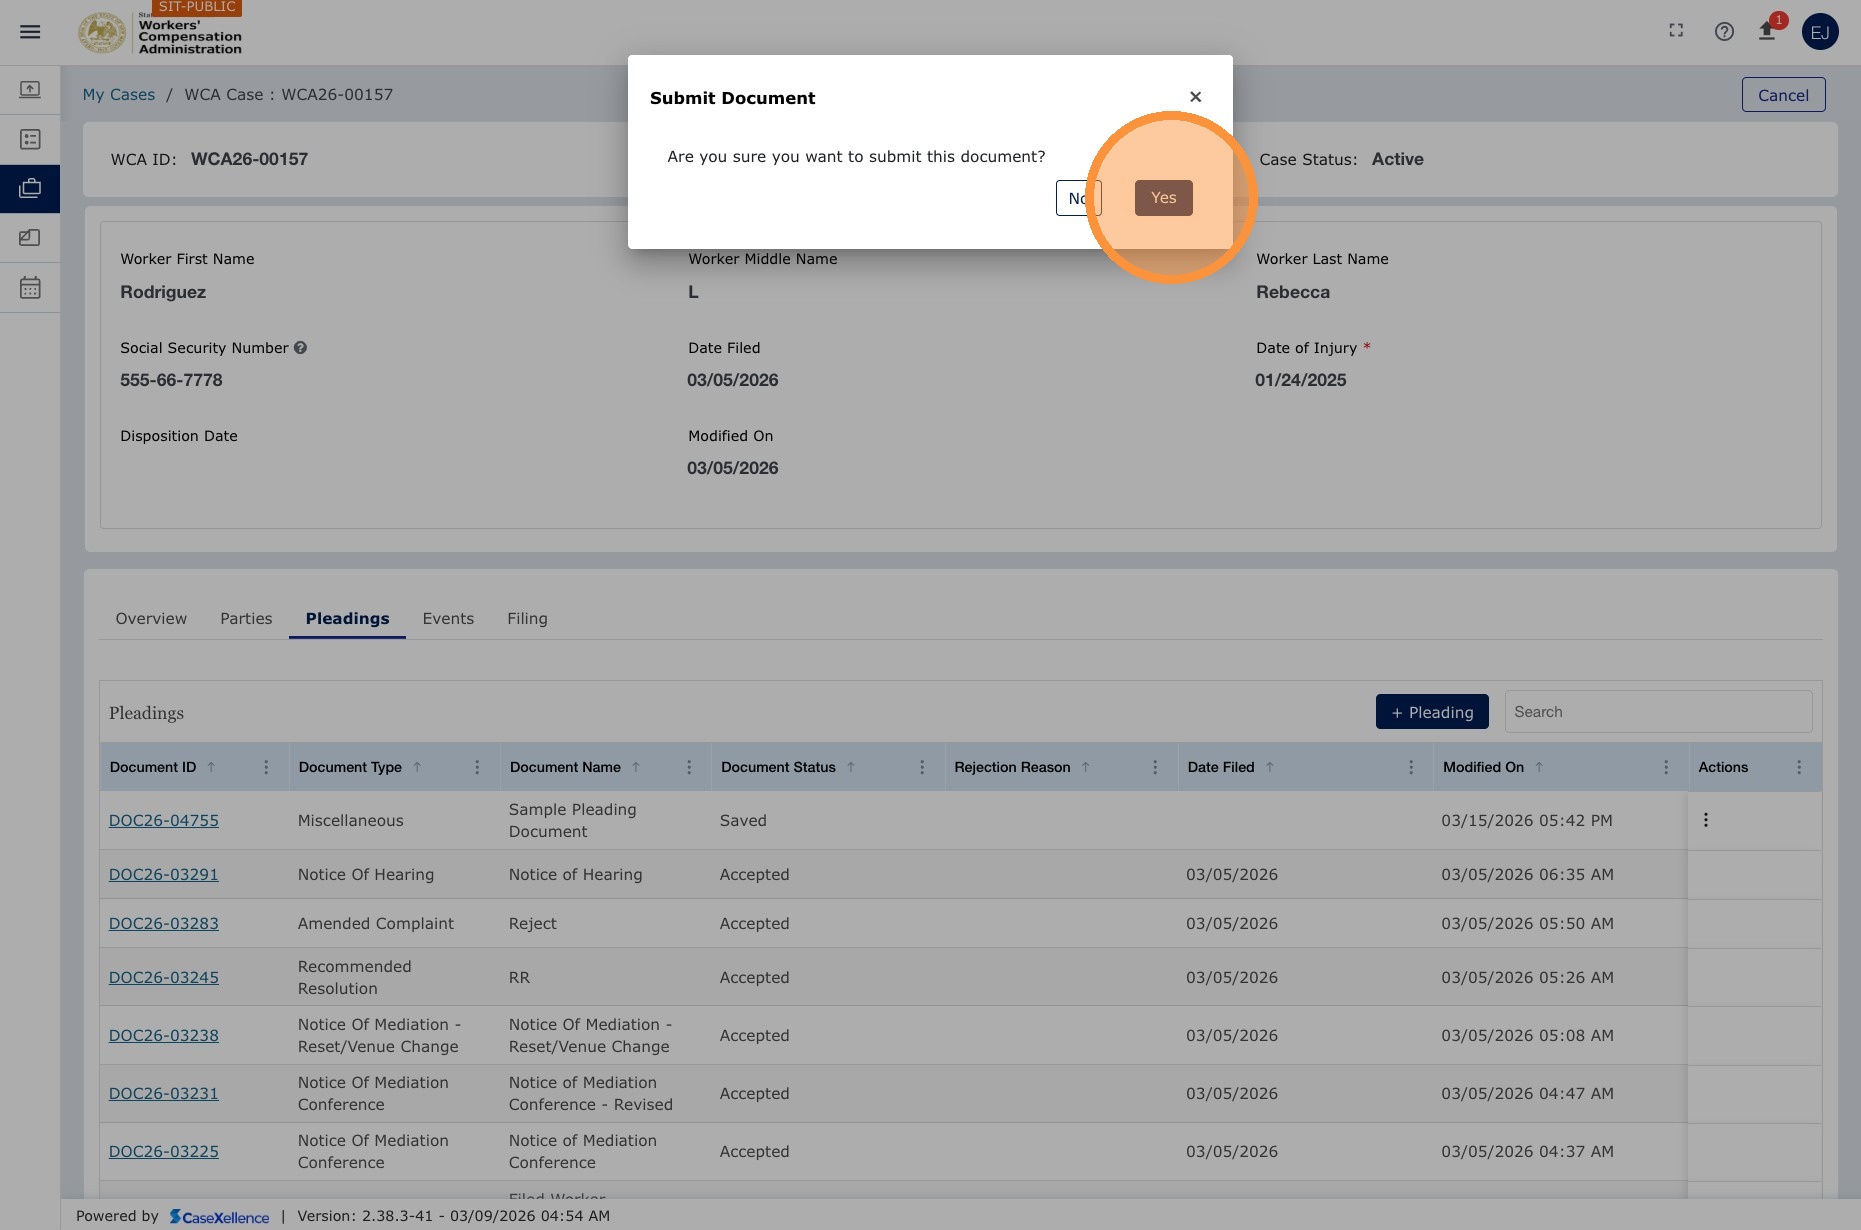
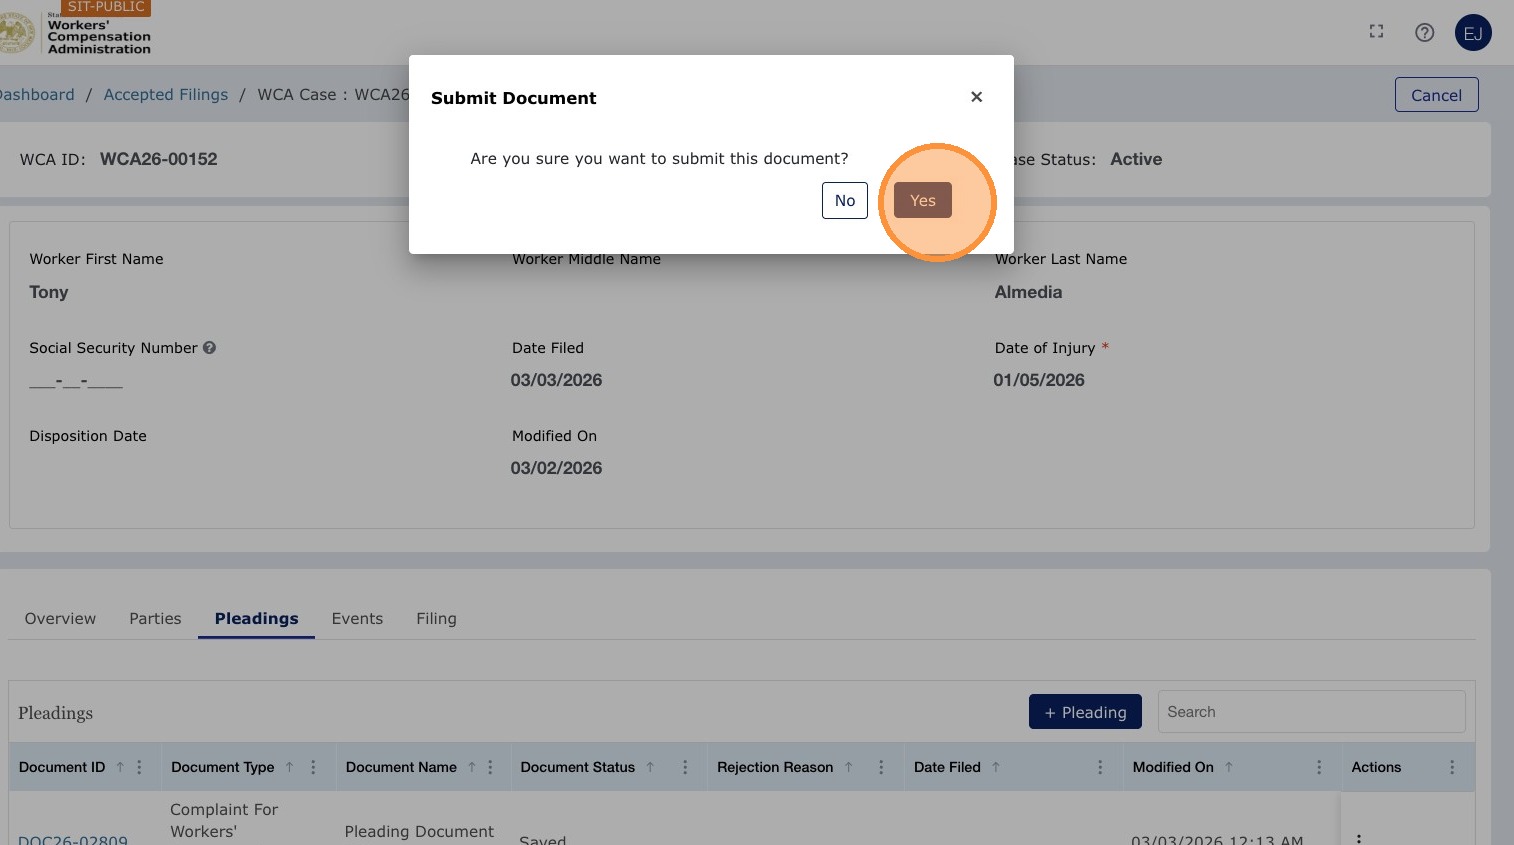
10. Confirm submission
Click Yes (or OK) to confirm.
11. Verify Submitted status
Refresh the page. The pleading status should show Submitted.
12. Return to filing overview
Use the Filing tab (or breadcrumb) to return to the filing overview as needed.
Note: If your case already appears under My WCA Cases, you can add pleadings there instead—see Adding a pleading (from My WCA Cases). The Clerk review and email notifications after submit are the same for both paths.
After you submit a pleading
| Stage | Description |
|---|---|
| Confirmation email | One email is sent for the entire pleading (all documents in that submission), not one email per document. |
| Clerk review | The Clerk's Office reviews the pleading as part of the e-filing quality assurance process. |
| If accepted | The pleading appears in the case Pleadings section with the status Accepted. All parties are notified by email. |
| If rejected | You will receive a rejection email explaining the reason for the rejection. The pleading appears as Rejected in the case view. For more information, see WCA Case — Resubmission of Rejected Pleadings. |
Note: Mediation exhibits are uploaded in a different location — through the specific mediation event in the case, not through the general Pleadings section. For more information, see My Calendar.
If you have large exhibits, consider splitting them into multiple uploads, such as Exhibit A Part 1 and Exhibit A Part 2, to stay within the 10 MB per-file limit.
See also: WCA Case — Add Attorney to Existing Case · WCA Case — Resubmission of Rejected Pleadings · Contact Us
Portions of this user guide were produced with assistance from artificial intelligence tools; all content was reviewed for accuracy before publication.